3D Printing, Grovemade & The Display Rail
- Rory Bowcott
- Oct 6, 2024
- 2 min read
Updated: Oct 12, 2024
Posting something a little different today.
3D Printing
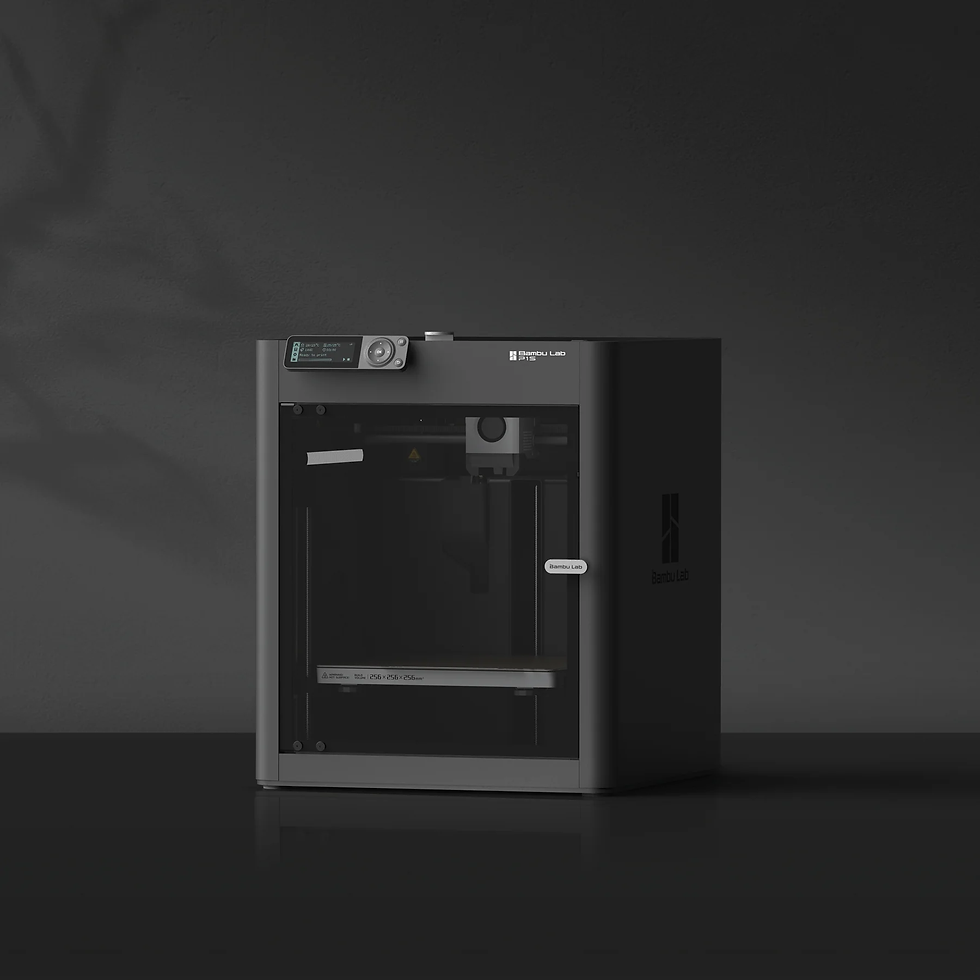
I’ve been getting into 3D Printing for a little while and quite the rabbit hole it is… I started off with an Ender 3, which at the time was considered to be one of the best beginner printers. To be honest, though, I didn’t get on with it at all. I ended up spending more time trying to get the thing working than I did printing what I wanted. So I took the next logical step and bought one of the best printers you can currently get on the market. A Bambu P1S.

This thing is an absolute beast and it blows me away with what it is capable of. Not something to go into detail in this post but all you need to know is it rocks.
Grovemade
Let’s talk Grovemade. If you haven’t been living under a rock you have probably noticed that every content creator on YouTube is rocking something from this company. They make a range of different products mainly for the office space. Lots of wood, minimalist design and f*** tonne of walnut.
Display Rail
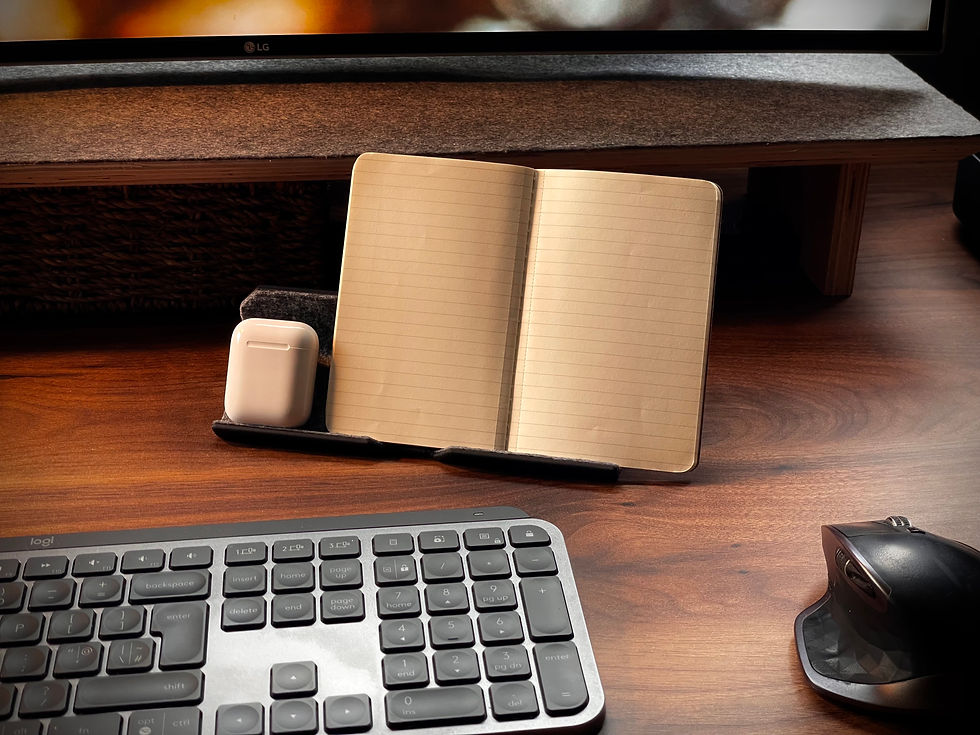
One of their products caught my eye like a short person holding an umbrella. It was the Display rail. A simple design that enables you to prop your notes up or use as a stand for your phone or iPad.
I was sold… $150... I was swiftly unsold...

Printing
As I was never going to pay $150 for what is basically an off-cut of walnut, I thought I would put the Bambu to use.
CAD it up
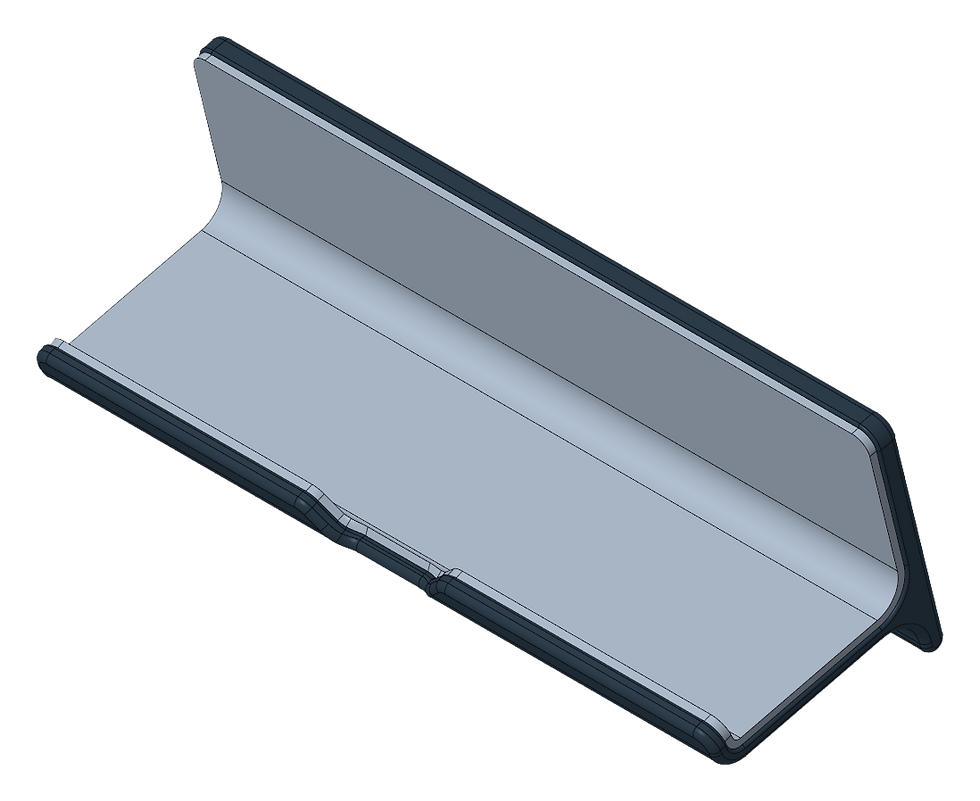
Within about 20 minutes I had the design mocked up in CAD and was ready to print.

Slice it up
Once you have the CAD model you need to convert it into a format the printer can understand. For this, we use a ‘Slicer’. A piece of software that calculates everything the printer needs to build it from the geometry we give it from the CAD package.

Print it out
Now for the fun part of letting it print out. In total, this took just under 2 hours. 3D Printing isn’t a quick process.
Result
After printing I finished the rail with felt to better match the aesthetic of the original.


Wrap up
Let me know you're thoughts on the slightly different type of post. Thanks for reading :)


Commentaires